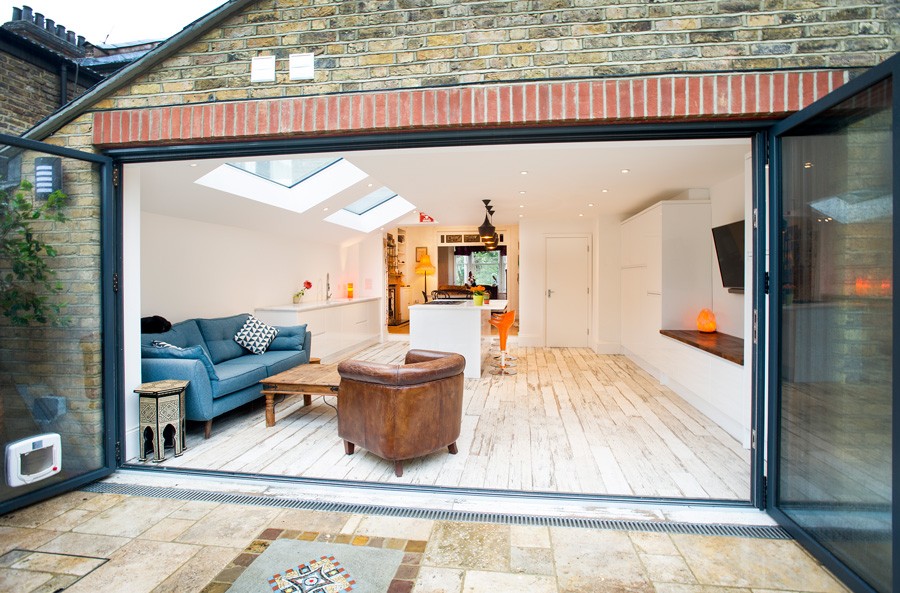
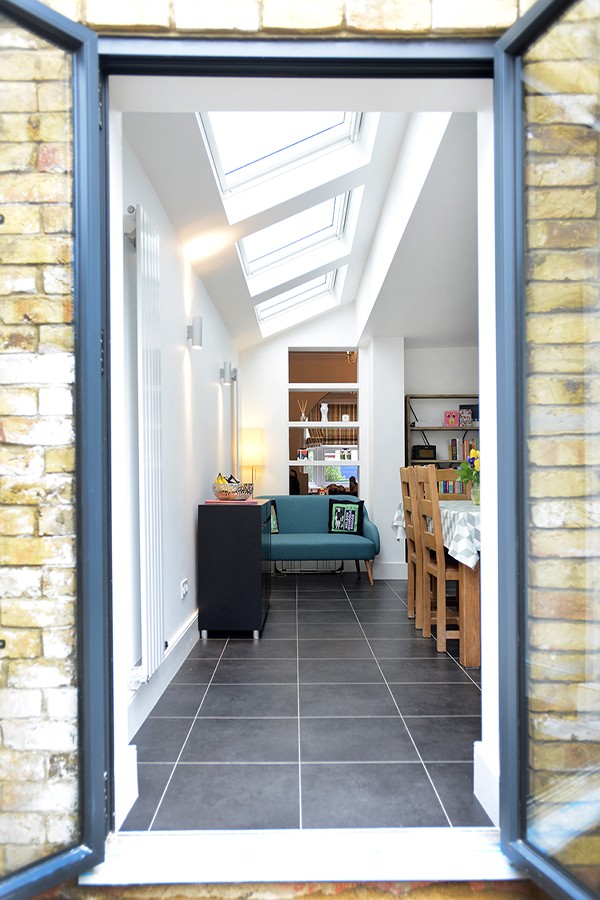
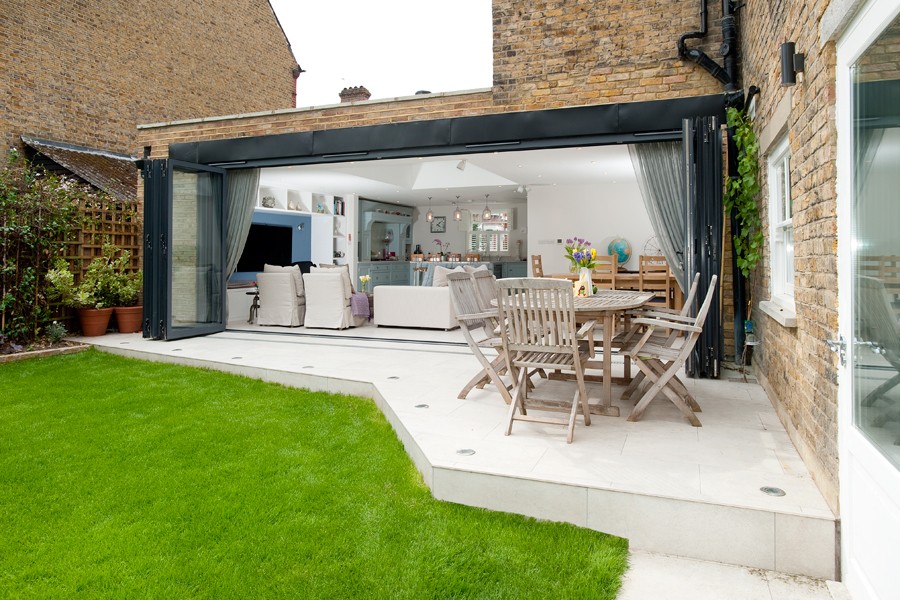
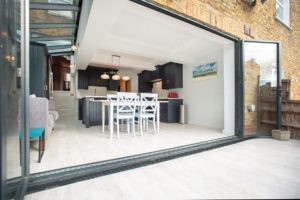
We understand that both the Design and Build are, generally speaking, new to you. We are here to guide you through the Design Phase, and do the heavy lifting in the Build – we understand that we are in your home, and you want to know exactly what’s going.
Build schedules will vary and are mostly dependent on the size of the project. A typical ground floor extension will take 12 weeks, but that is assuming everything runs smoothly. Building sites are complicated, and it’s impossible to predict what you’re going to discover until you’ve completed the opening up works.
We’re never too busy to answer your queries or offer updates on progress, and we thought a run through of the Build process might help you visualise the process and put everything into perspective.
Week One
The build process begins with the demolition. If you want to keep any items to reuse, such as kitchen cabinets, we can carefully remove these prior to the demolition. During the demolition, we will remove everything from the affected area; electrical wires will be made redundant and the water and gas will be capped.
Week Two
Once everything has been cleared out, we will make a start on the excavation works. This means we begin digging foundations and lowering the level for the new slab. During this time the manhole will be identified and relocated if necessary pending approval from Thames Water.
Week Three
Following the excavation, the concrete will be poured into the foundations and pad footings are left to set. At this stage, if you choose to use our Approved Inspector Service, we will liaise with your assigned Building Inspector to ensure that the process complies and we’ll get this signed off so we can proceed onto the next stage. If you choose to use your own Building Inspector, we will await your confirmation before we can proceed.
Week Four
The load bearing walls will be demolished and temporary steel bars will be put in place until the steel RSJ can be put in its place.
Week Five
Following the setting of the foundations and pad footings, the steel is now ready to be put into place. This process involves a further inspection and sign off from Building Control or an Approved Inspector. Once the steel has been placed, the new external walls can start to be built up.
Week Six & Seven
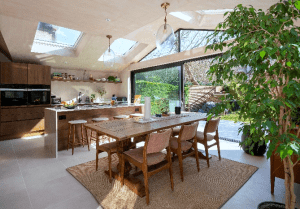
Once the external walls have been built, the roof can be added. Your roof choice will vary the length of the Build; an all glass roof can add approximately two weeks to the build schedule. This is because the exact measurements can only be taken once the frame has been constructed, so the glass can be created bespoke. If you have chosen Velux windows or a standard sized skylight, then the schedule won’t be affected.
Week Eight
When the heavy duty work is completed such as external facing walls, roof and floor, the doors and any other specified windows are put into place to make the space a water tight shell.
Week Nine & Ten
During this period the contractors will be touching up your build and completing the internal items. This involves building any internal partition walls, installing doors and adding internal specification within your design (for example internal windows or shelves).
Week Eleven & Twelve
The walls are then plastered. The project will also have its first and second fittings such as electrical and plumbing, so this is when we’ll finalise the smaller touches such as fitting plug sockets and light switches.
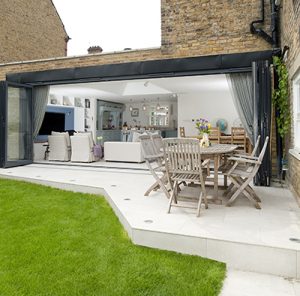
Our standard build service gets you to here – a watertight shell. We love to help out with additional work, and can absolutely assist with kitchen fittings, installing your floor, and painting. The choice is completely yours, and this can be discussed further and quoted for at your Pre Contract Meeting which is a meeting you receive at the end of the Design Phase.
Get in touch today for more info, email us at hello@buildteam.com or call us on 0207 495 6561.


